If you have worked with server-side languages you will already be familiar with the concept of partials or includes. In Shopify, partials and includes are known as snippets. To help you understand how Shopify uses them, here’s a brief overview:
– Snippets are files which contain the reusable code’s chunks.
– They reside in the snippets folder.
– They have the .liquid extension.
– They are mostly employed for code which is displayed on more than only 1 page but not across the entire theme.
– Snippets are contained in a template which uses the Liquid tag.
– There is no need to append the .liquid extension when referencing the snippet name.
– When a snippet is included, it will have the access to the variables within its parent template.
– The examples of snippets do include pagination blocks and social links.
How to create a snippet in shopify
Step 1:
Go to Online Store > Themes from your Shopify Admin panel.
Step 2:
Choose the theme you want to edit and click Actions > Edit code.
Step 3:
Tap the Snippets heading to reveal the Snippets content.
Step 4:
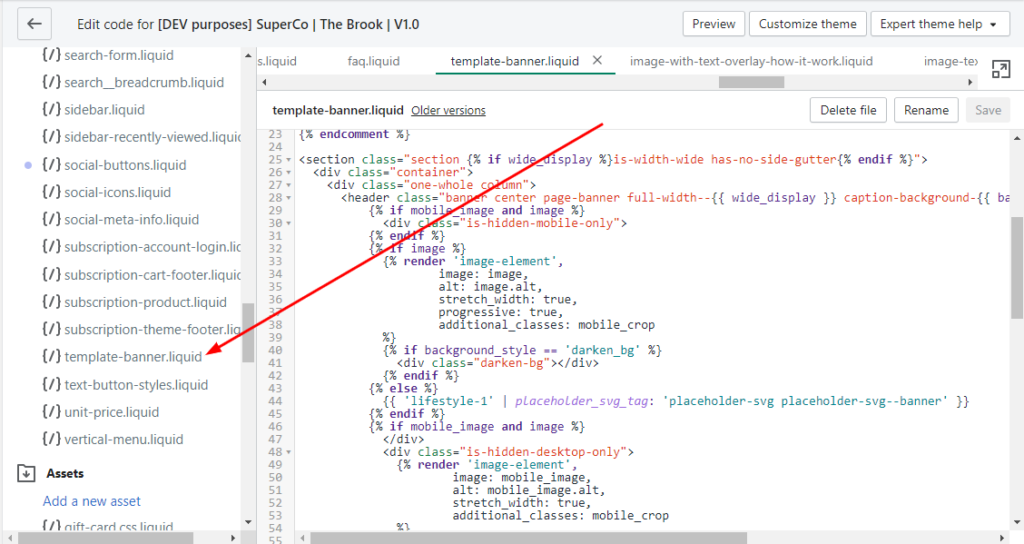
Search for the template-banner.liquid snippet. It is possible that your theme does contain that snippet already. In case it does not, let’s create one now.
Step 5:
Below the Snippets heading, tap the link Add a new snippet. Create a snippet called template-banner.liquid using the singular form.
Step 6:
Add the code here in your new template-banner.liquid snippet.
Step 7:
Save the file of snippets.
Step 8:
Stay still on the Edit CSS/HTML page, click theme.liquid which is under Layouts on the left menu.
Step 9:
Locate the closing </head> tag, and add this code right above it:
The hero banner area is the area of the page between the navigation and the start of your content. The hero banner is often an image, but it doesn’t have to be. It serves as the starting point for your page and its contents should orient the user to the content on the rest of the page.
How To Create Hero Banner Using Sections In Shopify
Let’s start, How To Create Hero Banner Using Sections In Shopify.
Suppose we are making a simple “Hero Banner” section .
Steps to follow:
1) From your Shopify admin, go to Online Store > Themes. 2) Find the theme you want to edit and click Actions > Edit code. 3) Go to Sections > Add a new section > Enter section name (eg:-hero-banner) 4) After entering the name of section Click “Create section”. 5) After the section is created copy the static “HTML” code to that section.
Note:Presets is used to Add Section in the backend “Customize” settings of the theme.
About Presets:
Presets must have a name and a category. Section presets and will be grouped by their category in the theme editor.
A preset’s settings object contains the values that will be assigned to the section when a merchant adds it to their home page. The preset’s settings schema must be valid according to the section’s settings schema.
Now test the code is working or not for that you have to follow these steps:
Testing Steps:
1). Click the Customize theme.
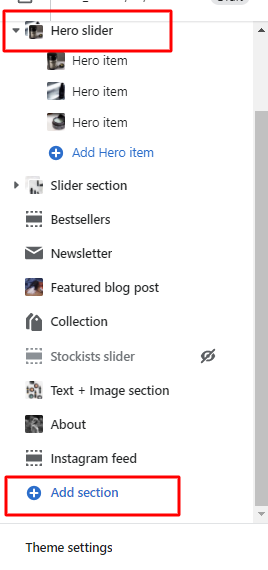
2). Under Sections select “Add section”.
3). Then search for the section you are made custom.
4). Then, select the section you made and add it. You can check the section is added at your right side screen.
5). After that SAVE it and Refresh your site. You can see the sections are added.
Congrats! Your Hero Banner section is successfully made & added to the home page . . .
If everything runs correctly, now you can make the “DYNAMIC” Code which is used to add multiple sections to the home page and edit their content without affecting the other sections.
But in “STATIC” code if we change one section it will affect others also:-